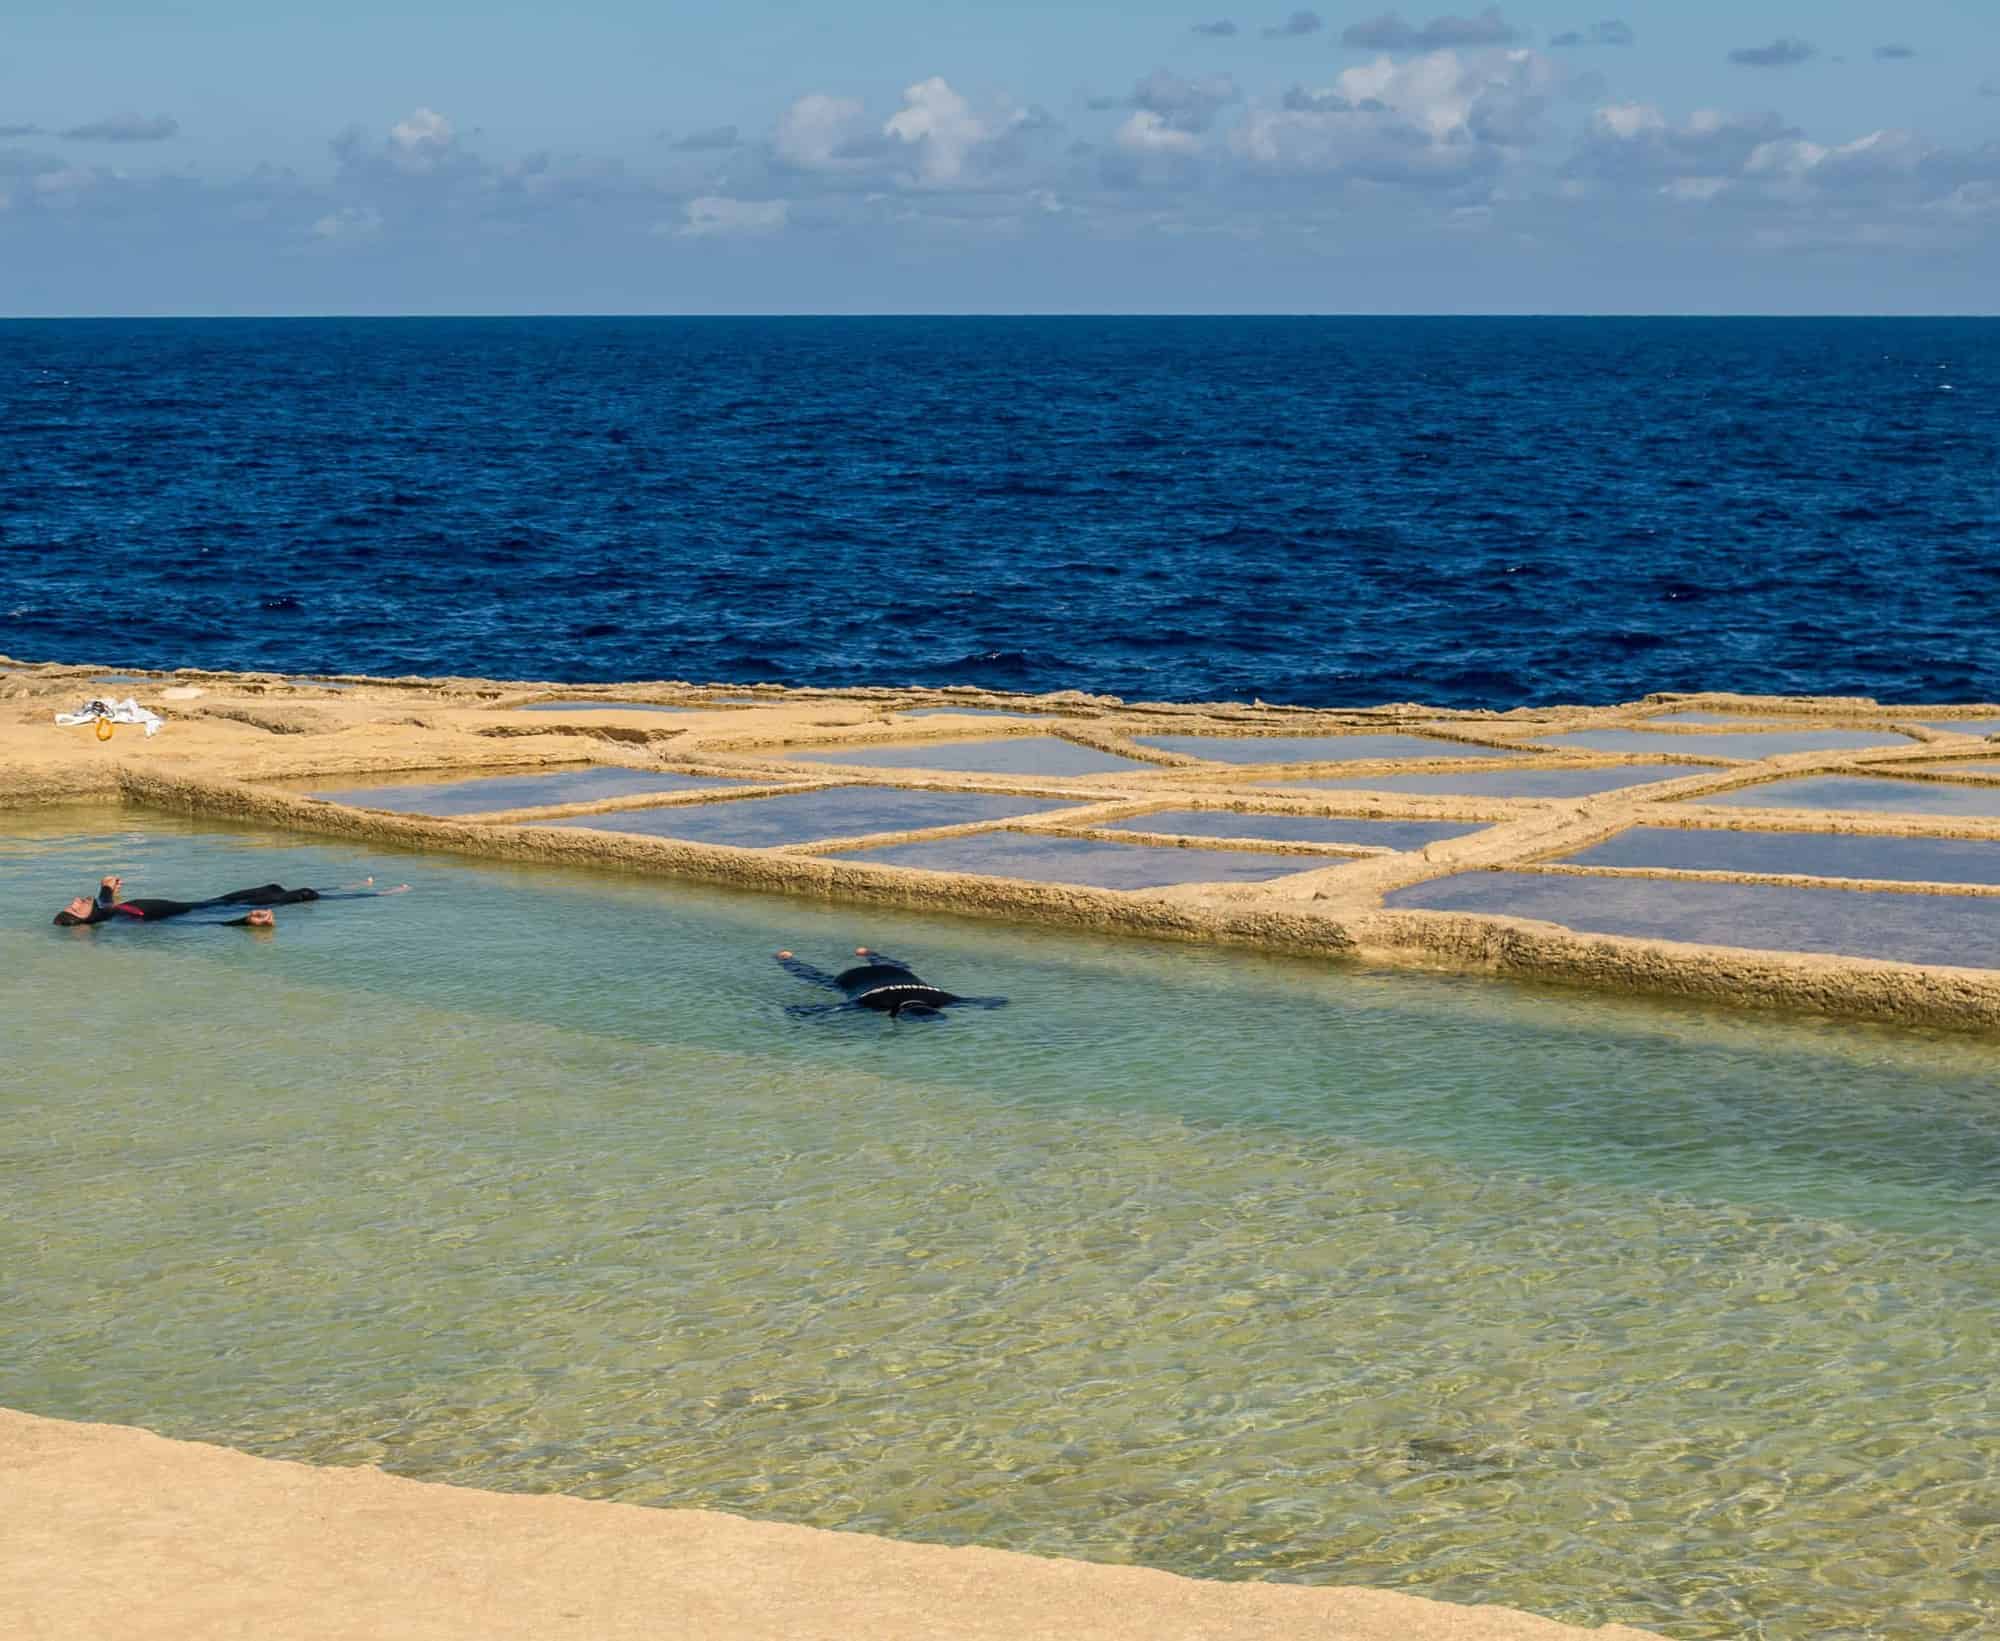
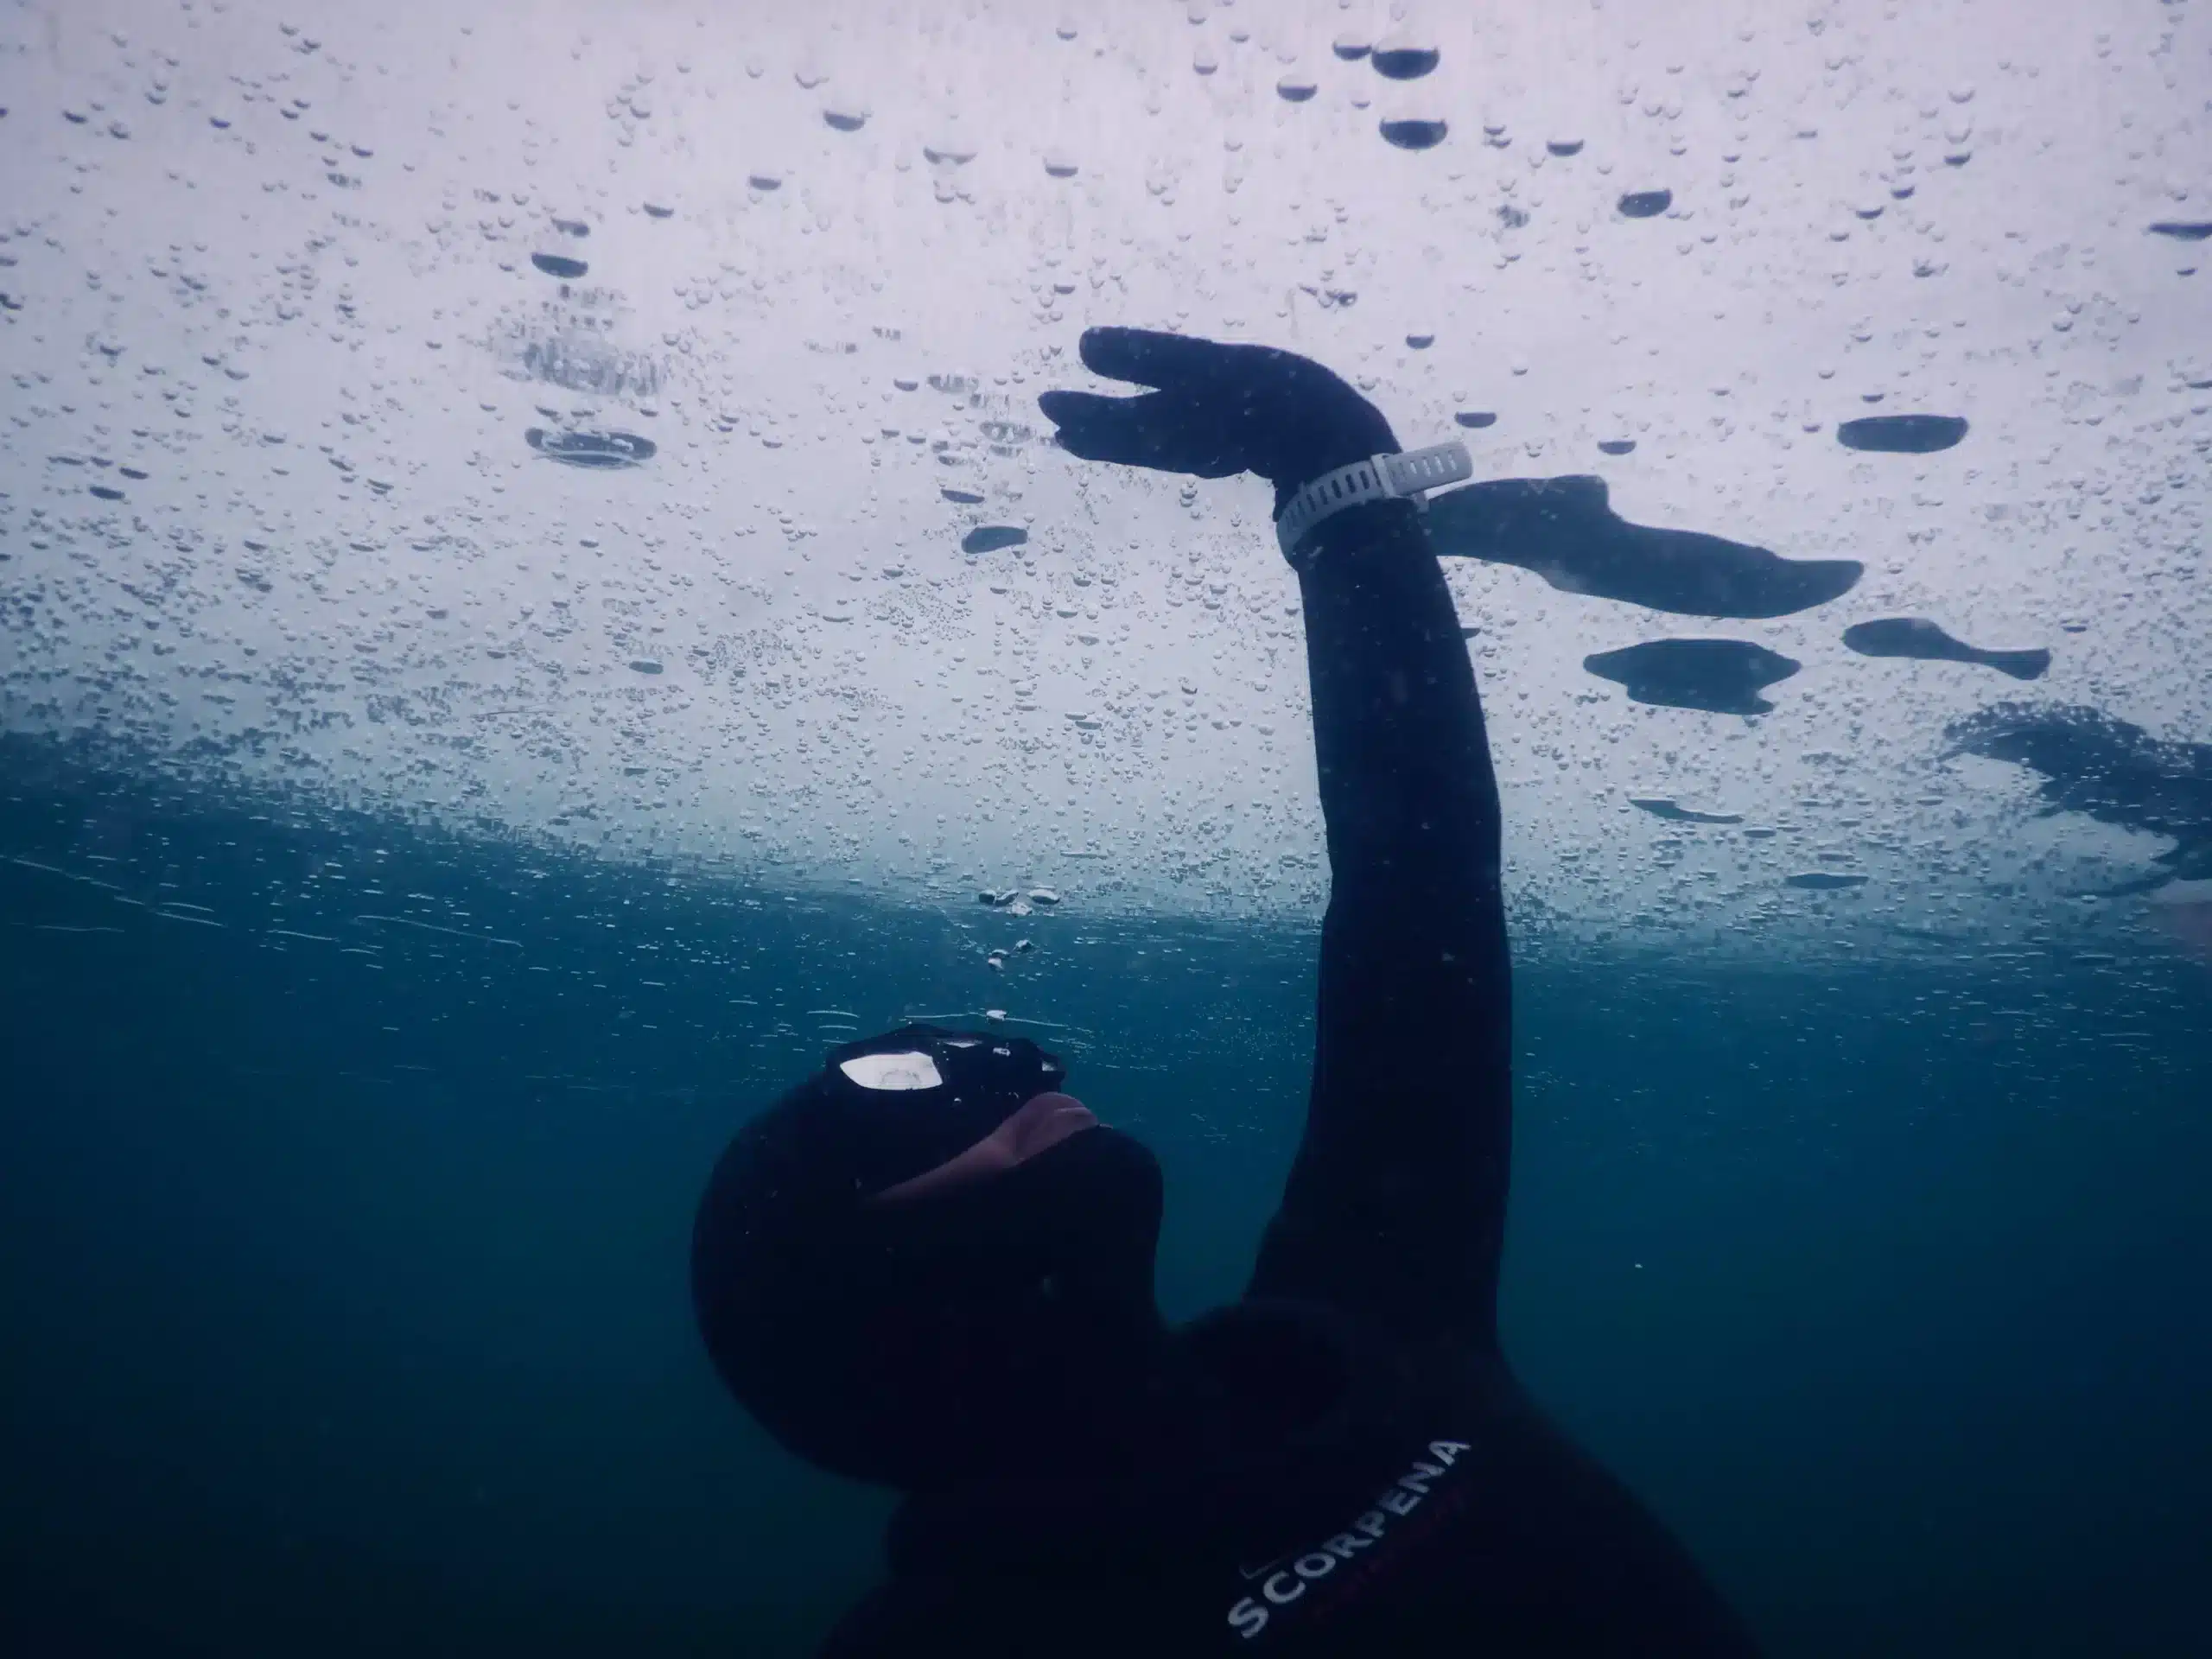
Imagine taking the plunge beneath the waves without being constrained by the heavy apparatus of scuba gear. Just you and the silence of the underwater world and the incredible feeling of pushing yourself to the limits.
The ultimate connection between man and water, freediving is appropriate for anyone looking to challenge themselves and explore the deep blue sea all on the power of your own breath. Practiced either recreationally or competitively, with the right training like breathing and equalisation techniques, you’ll be well on your way to exploring your inward power, discipline and control, while having fun.
If you want to discover more about this activity and how to get started, read on.
What is freediving?
Also known as breath-hold diving or skin diving, freediving is a form of underwater diving that relies on breath-holding until resurfacing as opposed to using breathing apparatus like in the case with scuba diving. So instead of using an air tank to help you breathe, you simply hold your breath for as long as you can until you return to the surface. It might sound that freediving is similar to snorkelling, however, there are differences between the two. Both disciplines use a mask, snorkel and fins, but freediving will alway involve breath-holding no matter how deep you go. How long you stay underwater and the depth you can achieve will greatly depend on your aquatic abilities and how well you have trained for it.
And while freediving may conjure images of superhumans exploring the bottom of the sea for minutes in one breath, freediving is more common than you may have thought, used in a number of activities ranging from spearfishing and underwater photography to a range of water sports like synchronised swimming, underwater football, rugby and hockey, as well as competitive and non-competitive freediving.
Are there different types of freediving?
Depending on your goals and what you are looking to achieve, you may choose to dive for time, depth or distance. As a new freediver, consider experimenting with a variety of disciplines with an instructor so that you can decide what your freediving objectives are.
Yet, freediving doesn’t only have a competitive side to it. Aimed at purely enjoying your underwater surroundings and becoming one with nature, recreational diving has many purposes be it to get closer to marine life, to explore underwater photography or to give wreck diving a go. Regardless of your recreational goal, freediving for leisure has many benefits and can improve your physical shape, while boosting your psychological and emotional state.
Below is a breakdown of the different freediving disciplines, many of which are also practiced competitively.
Open water disciplines
Free immersion (FIM)
This discipline challenges freedivers to descend as deep as they can, while it enables them to better control their descent by pulling themselves down and then up through a rope without kicking along a weighted line. No fins or other types of propulsion devices are used. Beginner freedivers find this discipline particularly enjoyable since it is easy to control speed, equalisation and body positioning in a controlled environment. In fact, this is sometimes used as a warmup for the constant weight with or without fins disciplines.
World record: According to the Guiness World Record, the deepest dive in the free immersion (FIM) discipline by a male freediver is 125 metres, held by Alexey Molchanov that took place on July 24, 2018 at the Vertical Blue freediving competition at Dean’s Blue Hole on Long Island in The Bahamas.
Constant weight (CWT) with/without fins
One of the most common depth versions of freediving, during the constant weight discipline the diver descends the water using either bi-fins or a monofin and a small amount of weight without pulling on any guide ropes or changing the weight used. One of the deepest disciplines allowed in competitions, the diver kicks down to get to the desired depth, then stops kicking and freefalls downwards.
Another version of this discipline is the constant weight freediving with no fins. As its name implies, the diver attempts to reach the desired depth using only the strength of their muscles and the right swimming technique to descend as much as possible. No aids are allowed what’s so ever which means that the descent is slower, making this one of the most difficult forms of freediving since the diver needs to achieve the perfect coordination between propulsion, equalisation and buoyancy.
World record: The deepest constant weight freedive with bi-fins by a male is at 113 metres achieved by Alexey Molchanov on November 26, 2020 at the AIDA Freediving World Competition – COVID-19 Special Edition in Sharm el-Sheikh, Egypt.
Variable weight
Divers in this category use a heavy sled which is attached to vertical ropes to pull them downwards at an extremely rapid rate. This helps to maximise depth-time and limits wasting precious oxygen while swimming during the descent. Once the diver is ready to surface, they lose the weight and swim up or pull on the rope. Due to the quick descent, equalisation is far harder to achieve and so as expected, this is a discipline for the more experienced freedivers.
World record: The deepest freediving variable weight by a female diver is 130 metres, achieved by Nanja van de Broek in Sharm El-Sheikh, Egypt in 2015. Van de Broek broke the record of legendary freediver Natalia Molchanova, who had previously set the record at 127 metres.
No Limits Freediving (NLT)
One of the most extreme disciplines of freediving for depth and perhaps one of the most dangerous forms of the sport, NLT uses a weight, either in the form of a sled or platform, to take the diver as deep as possible. Then once the desired depth has been achieved, the diver uses a buoyancy device, such as inflating a gas powered balloon which helps them surface. No swimming is involved so divers can descend to greater depths than in other disciplines.
World record: The current no-limits world record holder is Herbert Nitsch who achieved a depth of 214 meters on June 6, 2012, in Santorini, Greece
Pool disciplines used to train for closed water
Apnea
Apnea is the medical term used to describe slowed or stopped breathing. Typically associated with the medical condition known as sleep apnea, in freediving and other forms of water sports the term refers to the voluntary breath-holding while keeping the face below the surface of the water. There are two types of apneas, static (STA) and dynamic apnea.
- Static apnea (STA) – with this discipline the aim is to hold your breath for as long as possible while lying on the surface of the water and without swimming any distance so as to conserve oxygen. STA along with constant weight with fins is one of the original competition disciplines and training for it regularly has many benefits like improving your overall apnea ability and building your confidence, while it serves as great preparation for long and deep dives in open water. STA is also a mental challenge where the drive must manage the natural urge to breathe for as long as possible.
- Dynamic apnea – contrary to static apnea, this discipline requires the diver to swim underwater in a horizontal direction as far as possible with a single breath. A combination of swimming, breath-holding and mental control, during dynamic apnea the diver can swim with bi-fins, monofin or no fins. Considered the ideal training for those who cannot train in the sea during the cold winter months or for those who simply don’t have access to the open water, dynamic apnea is often practiced in a swimming pool. Working on your technique and fitness in a safe and controlled environment, makes it easier to keep track of your progress.
Freediving techniques & tips
Just like any other physical activity, freediving also demands some preparation and mastering certain skills before you even hit the water. You’ll need to know how to breathe leading up to a dive, as well as how to prepare yourself beforehand, how to best manage air during a dive and how to recover your breath afterwards, while you’ll also need to learn how to equalise, in other words how to compensate for the reduction of air volume in the sinus and middle ear due to pressure. Ultimately, freediving takes discipline, practice and physical conditioning so that your freediving will not only be more effective, but also more enjoyable.
-
Technique 1: The Importance of Relaxation
Freediving is as much a mental activity as it is a physical one. Without relaxation, we wouldn’t be able to focus on the task at hand, or be sensitive to what’s happening during the process. Think about it. How can you learn new skills when you’re feeling stressed? It won’t happen. Deeper Relaxation happens when we’ve trained the skills repetitively and created automation.
Physical & Mental Benefits of Relaxation
- Conserves Oxygen: A relaxed state lowers your metabolic rate, allowing you to stay underwater longer.
- Reduces Stress and Anxiety: Anxiety can trigger rapid breathing and muscle tension, both of which waste oxygen.
- Improves Focus: When your mind is calm, you can better concentrate on technique, depth, and safety.
Introducing Yoga Nidra
Top level freediving athletes incorporate Yoga Nidra into their training. Here is a basic guide that helps you systematically relaxes your body and mind:
Step by step approach on Freediving relaxation technique:
- Lie down on a yoga mat in the shavasana position and close your eyes. Take a few deep breaths and imagine and energy force pulsating through you from head to toe, with each inhalation and exhalation. Resume to normal breathing
- Now begin scanning your body for tension, starting form the crown of the head, making your way down to your toes. Going through each body part. Release the tension you find on each exhale. The breath should remain neutral – do not manipulate it in any way.
- As your body is at complete rest, it’s time to relax and focus the mind. The aim here is to keep the mind present and focused on; the breath, parts of your body touching the floor, sounds, water, colours behind your eyes, sun, skin etc.. Try to keep the mind focused for 20 seconds on each input.
Regular practice of Yoga Nidra can dramatically enhance your breath-hold capacity and improve your mental resilience.
-
Technique 2: How to breathe for freediving
Breathing and focusing the mind lies at the heart of freediving. Understanding how to engage your breathing muscles properly can help you trigger the relaxed state of mind and body you need before taking the plunge.
The 2–3 Minute “Relaxation phase”
Before the final breath, freedivers often spend a couple of minutes focusing, relaxing and breathing. This helps you:
- Calm the Mind and Body: Lower your heart rate and stress levels and tension in the body.
- Enter a Focused, Relaxed State: Mentally prepare for the dive, anchoring your mind to the present; sounds, feeling of the water, breathing, sun on the face, wind etc..
- Increase your sensitivity: The more you relax and focus, the more sensitive you become to the dive sensations.
Gentle belly breathing (diaphragmatic breathing) with an extended exhalation is the primary method used to enter a relaxed state. Here is a simple approach:
- Inhale Slowly (Belly First)
- Feel your abdomen expand & stop until any feelings of discomfort or tension. Less is more!
- Aim for a slow, smooth 3–4 second inhale.
- Exhale Gently and Twice as Long
- By constricting your throat or slowly the air down with your lips, release the air for approximately double the amount.
- Keep your chest, ribs, and abdomen relaxed and tension-free.
- Pause Briefly (Optional, but recommended)
- After exhaling, pause for a second and notice the neutral position of the diaphragm. This natural pause promotes a calmer sensation.
During these 2–3 minutes, stay as still as possible—whether you’re floating on your back, lying face-down in the water, or seated on a noodle.
Incorporating Yoga Nidra for Mental Focus
As you are in this stage of breathing and preparing for the dive, you can simultaneously start the process of yoga nidra, to further induce a start of relaxation. This fusion of Yoga Nidra and controlled breathing conditions both your mind and body to remain calm under pressure. The result is a more efficient use of oxygen and a deeper sense of inner peace as you enter the water.
Breathing Muscles & How They Help
- Diaphragm: The primary muscle of respiration. Strengthening it through regular practice of deep belly breathing helps you take fuller inhales and controlled exhales.
- Intercostal Muscles: Located between the ribs, these assist in expanding and contracting the chest cavity. The more flexible and trained they are, the more air you can draw in on your final breath. These muscles are also used to ventilate Co2. Note that these are advanced techniques and we should never over-ventilate to the point of hyperventilation.
- Abdominal muscles: These sets of muscles are used to actively exhale air.
Practice Tip: Dedicating a few minutes a day to the dive preparation routine will massively help you in the water. It’s a skill that can be trained outside of the water many times.
-
Technique 3: The full Breath
How to take the full breath
Step 1
Whilst lying down, place one hand on the belly and one hand on the chest. Now, breathe into your belly, making sure only the hand on the belly is moving up and down. Whilst breathing, you can purse your lips to constrict airflow. You will gain more control over the diaphragm.
Step 2
Place your hands onto the side of your chest wall (lower half). Begin by breathing deep into your chest by making an ‘AAAHHHH’ sound. You should feel your chest expanding both sideways and out and upwards towards the sky. Try constricting the airflow for more control.
Step 3
Once you gained good control of the breathing muscles, it’s time to put it all together. Take approximately two to three minutes to relax whilst placing one hand on the belly and one on the chest. Constricting the airflow, begin breathing into the belly, feeling the hand rise. Once full, continue breathing into the chest, expanding the ribcage.
Once we are relaxed and calm, we need to fill our lungs with air. Ultimately, this is what will be feeding our body and tissues with oxygen.
-
Technique 4: Equalisation
Equalisation in freediving is a way to re-introduce air in the middle ear after a reduction in this space due to the increase in pressure as you descend. It’s a crucial aspect of any dive, helping you avoid painful or damaging pressure buildup.
- The Frenzel Technique
This is the preferred method of equalization and ultimately the one you need to focus on. The shifting of the air all happens in the throat, with the base of your tongue (larynx) acting as a piston, pushing the air up into your nasal cavity and opening the eustachian tubes. Unlike the Valsalva maneuver, Frenzel is more controlled and efficient. - Early & Often
Begin equalizing on the surface before your descent, then continue every meter or so as you go down. Waiting until you feel discomfort can make equalization more difficult and potentially painful. It’s important that you never let any pressure build up. The equalisation should preferably happen before you feel any kind of sensation in the water. - Practice on Land
If you’re new to equalization, practice in front of a mirror. Watch for subtle movements in your throat and make sure you can isolate the required muscles.
Important: If you experience pain or difficulty equalizing, stop the dive and return to the surface. Never force it—pain is clear that something is not working.
Pro-tip: This is a skill that can be trained out of the water. Use a mirror to understand which parts are moving. Find an instructor who can guide your practice.
How to Frenzel, Step by step
Step 1
Pinch your nostrils
Step 2
Position the front of your tongue at the roof of your mouth as if you are making a ‘T’or‘K’ sound. These are tongue locks called the T and K locks. Alternatively, squeeze your lips and cheeks as if you are saying ‘P’ forcefully. This is the P lock, where your cheeks are used to equalize instead of your tongue.
Step 3
Close your vocal folds and lift your larynx up to push air out of your mouth and into your nose.
Step 4
You will feel a popping or clicking sound as the air equalizes in your middle ear.
Step 5
Repeat the above steps each time you need to equalize.
- The Frenzel Technique
-
Technique 5: Buoyancy
During a freedive, divers succumb to all forces of buoyancy acting on their body; Positive buoyancy, neutral buoyancy and negative buoyancy. These forces would either keep a body floating, neutral (floating in space) or sinking. Archimedes principle states:
A body, wholly or partially immersed in a fluid, experiences an upthrust equal to the weight of the fluid displaced
Factors that affect your buoyancy
The volume of your lungs
A larger volume displaces more water and creates more upthrust. The opposite would happen with a smaller volume. Lung volume decreases as we descend and ascend because of the change in pressure.
Water density
In fresh water, a body would feel ‘heavier’ because water is less dense. In salt water, our body feels ‘lighter’ because water is more dense.
Thickness and density of wetsuits
The neoprene in the wetsuit carries small bubbles which make the suit less dense than water, causing plenty of positive buoyancy. As a diver descends, the gas bubbles compress making the suit become ‘heavier’
Freedivers add weight to their belts to offset this increase in buoyancy.
How to weight yourself for freediving:
Step 1
Relax on the buoy, start your preparation and take your full breath, ensuring it’s done properly.
Step 2
Gently pull yourself down using the FIM discipline until you reach 10 metres.
Step 3
Turn yourself the right way round, making sure your chest is in line with the 10 metre mark. Whilst holding onto the line, release your hand and observe what happens to your body.
If we want to be neutral at 10 metres, our body will hover around that mark. whilst if we begin floating, this means we are under water and need to add some weight. A sinking body means there is too much weight. Remove some and test again.
-
Technique 6: Duck diving
The duck dive – Step by step.A clean duck dive sets you up for a smoother, more efficient descent.
- Surface Preparation
- Take your final breath at the surface, ensuring to remain calm
- Extend your arms straight ahead or leave the pointing towards the seabed. Add a couple of gentle kicks.
- Pivot Forward
- Bend at the waist until your body is vertical.
- Your upper body should slice into the water while lifting your legs straight up. These movements will help you descend easily.
- Momentum & Streamlining
- Let your legs and fins break the surface of the water..
- Aim to conserve energy by minimizing splashing and quick, jerky movements.
- Transition to Descent
- Once your entire body is submerged, use your arms like a fin and perform the keyhole armstroke. Begin finning.
- Maintain a streamlined body position to reduce drag.
Quick Tip: Practice in shallow water first. The more fluid and efficient your duck dive, the easier the rest of the descent becomes
The duck dive helps a freediver overcome the first few metres (around two to five) of positive buoyancy without using too much energy. It can make or break your dive. When not executed correctly, the freediver will use far too much energy with their fins, leaving them fluttering on the surface. When performed properly, this technique will help you descend comfortably in a relaxed manner despite the positive buoyancy.
- Surface Preparation
- Technique 7: The Turn
Once you reach your target depth, it is important to perform your bottom turn in a controlled and relaxed manner by using the dive line. This ensures that you don’t stretch too much at depth, which could place stress on your lungs. A proper turn will also allow you to pull on the dive line, gaining momentum for the beginning of the ascent and signaling to your buddy that you are on your way back to the surface. The forward tumble turn is the technique we will use for all depth disciplines.How to turn
Grab the line in front of your eyes with the thumb pointing toward your destination (the surface). Continue descending along the line until your grabbing hand is at waist level and use your momentum and gravity to perform a slow and relaxed front flip before pulling once on the line.Step 1
Stop your descent by grabbing the line in front of your eyes with your thumb pointing to your destination (the surface).Step 2
Continue descending along the line until your grabbing hand is at waist level.Step 3
Fold your body forward (making a front flip) around the grabbing hand.Step 4
You should end up next to the line after finishing the front flip while still holding the line.Step 5
Pull once with the grabbing hand to start the ascent, which also signals to your buddy that you are coming up.
-
Technique 8: The bi-fin technique
The bi-fin technique, is also known as the ‘flutter kick,’ which is the basis of freediving. This technique has just recently become a competitive discipline under the acronym CWTB (Constant Weight with Bifins). The bi-fin technique is used for most recreational freediving; acting as a buddy or safety diver, swimming from shore to reach a diving location, spearfishing, exploring, teaching, and the first technique taught to students to descend to depth without the aid of the dive line in FIM.
Modern freediving fins are produced in either plastic, fiberglass, carbon or a mixture of both. But the best gear is of little use if your technique needs work. Even the greatest piece of gear will not enable you to achieve your goals; technique always comes first.
Bi-fin technique basics
Good finning technique can drastically improve your efficiency underwater, conserving oxygen and making your descent or ascent smoother.
- Flutter Kick Basics
- Keep your legs relatively straight, with a slight bend in the knees.
- Initiate the movement from your hips, not your knees.
- Maintain a relaxed but controlled motion.
- Try to separate the lower and upper torso. Use the whole of the leg to push the water forward and backwards.
- Small Amplitude: Avoid wide, sweeping kicks—this creates extra drag.
- Maintain Rhythm: Develop a consistent up-and-down motion that feels natural and fluid.
- Common mistakes
- A large bicycle kick
Kicking with the knees instead of the hips and ankles is a common mistake. This limits muscle engagement, increases energy consumption, and reduces efficiency in the water.
How to fix it: Intentionally lock your knees while fully engaging your quads and glutes. - Uneven front and back kick
The back kick is usually the dominating factor which pushes the diver into the line. Lack of body awareness and muscle strength are the key factors over here.
This imbalance leads to compensatory movements, making the technique less efficient.
How to fix it: Make sure to lock the ankles, use a blade with easy stiffness. Imagine kicking a football putting more emphasis on the forward kick.
- A large bicycle kick
Pro Tip: Use smaller fins in the beginning which are soft and flexible. This will help you ‘feel’ the water more.
Read more on B-fin technique here
What are some essential freediving equipment?
Technically sporting just your swimsuit should suffice to enjoy freediving, but owning some basic equipment like a mask, fins and exposure suits can make your dives more comfortable, most especially if you have to endure different water conditions.
Here are some items that you might find worth investing in:
- Mask – choose one that is low volume for easier equalisation, with clear lenses, nose pocket and a comfortable silicone seal around the face.
- Fins – fins can help you cover more ground, making your diving easier. Bi-fins, in other words, a pair of fins, are easier to maneuver in the water and are ideal for recreational diving. They usually come in long lengths, with enclosed feet holes and fin retainers around the ankles, while they are available in plastic, carbon fibre or fibre glass. Monofins are best for depth, distance and speed, however, you must use your entire body to propel through the water.
- Weightbelt – usually worn around the hips, these should be flexible but tight and should be evenly spaced for hydrodynamics in the water.
- Exposure suits – whether a wetsuit, pool suit or a dive skin, these can help you move better in the water, while offering protection against the cold water, the sun and marine hazards such as jellyfish. You may also want to consider using gloves to protect your hands from the cold.
Is freediving dangerous?
Freediving is often portrayed as an extreme, adrenaline-inducing and dangerous pursuit, but this is far from the truth. With the appropriate training and a good freediving course, coupled with some common sense like following basic safety rules and staying within your limits, you can enjoy freediving safely.
Here are some safety tips:
- Use the buddy system: Never dive alone and instead, bring your buddy with you whenever you head out to the water. In fact, the buddy system is crucial, so you should never disregard it. Ideally your buddy should match your freediving level and should be fully knowledgeable of safety principles and what to do in case of an emergency.
- Don’t leave the line: The line is there to guide you and to help your buddy locate you in case of an emergency. Going off course is just a recipe for disaster so you should never leave the line no matter what.
- Craft a plan: Whether you’re off to freedive just with your buddy or with an entire party, make sure you let them know what the day’s dive plan is and whether you’re planning any deep dives.
Use correct weighting: Weights are an excellent accessory to have since they can make swimming to greater depths easier. Yet, if you’re overweighting yourself, this could be quite risky. Make sure you weight yourself for neutral buoyancy at around 10 metres and use a weighting system you can quickly release.
Remember to relax and enjoy yourself: panicking while in the water can be dangerous. This is why relaxation is key to freediving. Deep, slow and calm breaths help lower your heart rate so that your body can conserve oxygen like when practicing tidal volume mentioned earlier on. Make sure you are prepared before each freediving session.
Don’t overdo it: freediving can be a lot of fun, while it can be incredibly rewarding each time you achieve a new milestone. But don’t get tempted to push yourself beyond your limits. Doing so can have adverse consequences.
Take a freediving course
There’s no better way of getting started in freediving than with a good course. From learning how to relax your body through different breathing and relaxation techniques to understanding the safety aspect of the sport, mastering important freediving skills and discovering what your body is capable of, with a course you’ll be introduced to the basic elements of freediving, while enjoying the beauty of what surrounds you in the water.
Have a look at the courses we offer and why we have opted for the Molchanovs Education programme