Have you enrolled in a freediving course and struggled with equalisaing passed the depths? Or maybe you want to learn further about the Frenzel equalisation maneuver. Well you’re in luck. This blog will cover everything; from what equalisation is to the common problems when learning the maneuver as well as in the water.
No Frenzel Equalisation – NO FREEDIVING
It goes without saying that if you want to freedive, you just have to learn the frenzel method. It is the key to access the depth of the ocean. Without it, your diving will feel incomplete and it will make you freedive in the most relaxed way possible.
Get a FREE online video check up
Towards the end of this blog, we’ll be giving you a FREE online check up with our instructor Fabrice who has helped hundreds of students with his coaching programs. Through a simple video call, Fabrice is able to understand and diagnose your problems. No more guess work. All you have to do is drop him and email or whatsapp message
Check out our own video on how to Frenzel
What is equalisation?
Boyles law states that ‘At a fixed temperature, the volume of a gas is inversely proportional to the pressure exerted on that gas’. Our body tissue is made of water which is non compressible. However, gases are compressible so diving deep has an effect on the airspaces in our body. As we descend, the volume of the air inside our middle ear decreases and we feel an introflection (bending inwards) of the ear drum, leading us to perform an equalisation. We are compensating for a reduction in volume in the middle ear caused by an increase in pressure.
If you want an in depth look into equalization, please read here
Why do we need to equalize in freediving?
If we descend and allow the airspace in the middle ear to compress, we will start to feel pain resulting in an ear barotrauma. This will cause a variety of complications. Once we begin to equalise the ears at the right time, we will be able to freedive comfortably and free fro pain or discomfort.
What is Frenzel equalisation?
This technique involves using the tongue and vocal cords. The air inside the oral cavity must be sealed by closing the glottis and vocal cords. Then, the tongue is pushed upward, compressing the air and creating pressure, leading to the ‘pop’! It is vital that the soft pallet is in the open or neutral position.
Frenzel vs valsalva technique
There are two main techniques we learn during a beginners course and these are the Frenzel and Valsalva method. The valsalva should be disregarded completely. This technique will stop working eventually and is exhausting to use which goes against the whole point when it comes to relaxation. The valsalva uses the diaphragm and intercostal muscles to push air into our middle ear which only means you are working against pressure. The distance from the lungs to the middle ear is far greater than the distance between the glottis and middle ear. Finally, these muscles are bigger than the subtle muscles we need to use for the Frenzel technique.

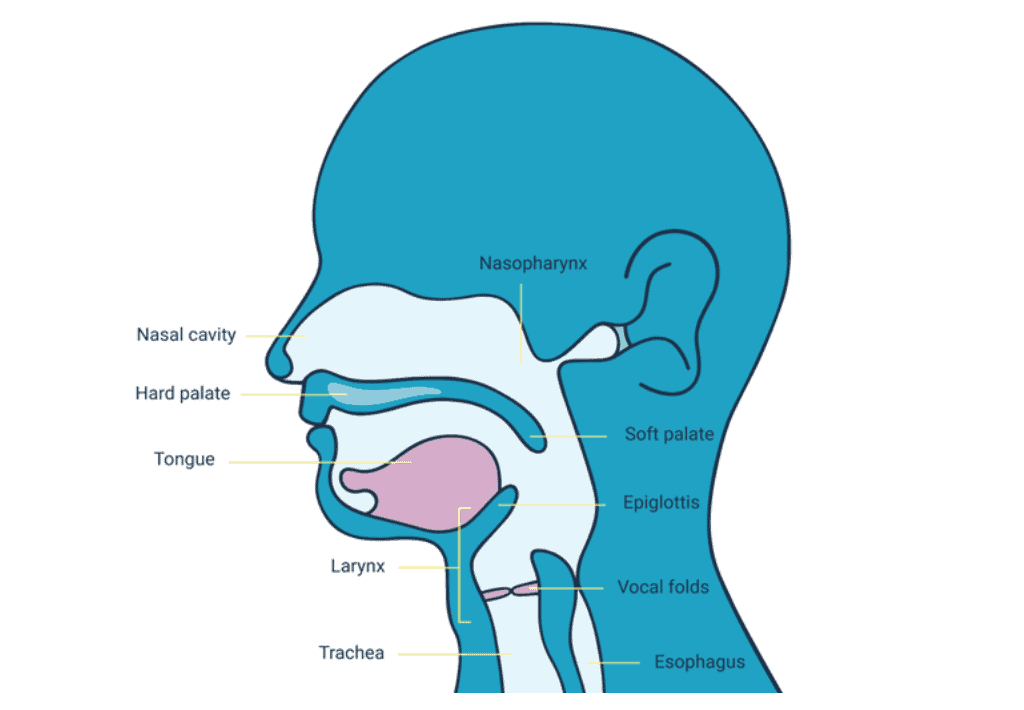
The diagram above shows all the airspaces (apart from the lungs) as well as the doors, that need to be moved to create pressure and shift air into the middle ear. If you want to know more about these airspaces and doors, we go into detail over here.
Anatomy used during Frenzel Equalisation
The glottis
The glottis plays another important role and connects the oral cavity to the lungs. It is located near the vocal cord and isolates the digestive track from the airways. It is involved in both frenzel manoeuvre as well as transfer of air from lungs to cavities. The glottis is a Dynamic door.
The tongue
The tongue is the muscle which we use to create a lock and pressurise the oral and nasal cavity to send air into the middle ear.
Soft Palate
The soft palate connects the oral and nasal cavities & plays one of the most important roles for equalising. It consists of two positions; closed and open (relaxed / neutral position). In order for us to equalise the ear, the palate must be in the open position. This allows the air inside the oral and nasal cavity to be pressurised. Once there is pressure and the soft palate is in the open position, air is forced into the eustachian tubes and has access to the middle ear and ear drum. Because we have total control of the soft pallet, it is considered a dynamic door.
Eustachian tube
Your eustachian tube is a canal which connects your middle ear cavity to the upper part of your throat and back of your nasal cavity. This is known as the nasopharynx. The pressure within your middle ear is managed by your eustachian tube to ensure it is equal to the pressure outside your body. They are normally closed and only open with certain movements.
Middle ear
Your middle ear is part of the ear between your eardrum and the oval window to your inner ear. During a dive, the volume of air inside your middle ear decreases and puts pressure on your ear drums, casing them to bend inwards. The ear drums are extremely sensitive to changes and this is why it’s important to equalise before you feel any pressure or especially, pain. If you eustachian tubes remain closed or are not opened enough during equalisation, you may experience pain or discomfort. If you continue to descend, you may rupture your ear drums.
Frenzel Equalisation Technique step by step
Step 1
First, we have to pinch the nose closed. This ensures no air can escape resulting in a loss of pressure.
Step 2
We then have to make sure the glottis and vocal folds are closed. Remember it all happens from the throat.
Step 3
The final door that should be closed is the mouth. We now have a closed system in the oral and nasal cavity.
Step 4
Place the tongue in the T lock or in the K lock position. You have to pronounce the letters to feel the position. It doesn’t matter which lock you are in. Use the one which is most comfortable
Step 5
Making sure you have air behind the tongue and in the appropriate lock , lift the back of the tongue against the soft pallet.
Step 6
Feel the pop!
This changes the volume inside the oral cavity and creates pressure. In most cases, the soft pallet is in the neutral or open position. This is the most efficient and relaxed way to equalise, utilising the smallest group of muscles.
Exercises for learning Frenzel equalization
Unfortunately, there are some individuals who find it challenging to learn the frenzel maneuver from the get-go. In these particular cases, we must learn how to work on the parts individually, breaking them down step by step. The following exercises will help you getting started on your journey to awareness. Every time you do the exericses, make sure you are in a comfortable setting, relaxing before each performance.
Glottis / vocal folds
Start with a passive exhale followed by a forceful exhale and a hold. As you hold, keep your belly relaxed and neck neutra. Lift your chest and try to expand it naturally. Using a mirror look at your neck / throat – you will be able to see an indent in the middle. Release the hold and feel the air coming in.
Soft pallet
This is an easy one. All you need to do is breathe in and out from the nose, keeping your mouth closed. As you are breathing, close your eyes and send your awareness to the back part of your throat and feel the opening / relaxation of the soft pallet.
Tongue action
As we know, the tongue (or vocal folds / root of the tongue) is the piston that creates the pressure. Sit in front of a mirror and open your mouth wide. Make sure the tip of the tongue is tucked on the lower part of your teeth. Breathe in from your mouth only (not nose) whilst allowing the air to flow through as much as possible. Breathe out from the nose (keeping your mouth open). Keep going. This will lower and lift the tongue respectively.
Common problems with Frenzel equalisation
There are a few problems that set people back from learn how to frenzel as well as in the water. I’ll first start with the problems in the water and move on to the learning difficulties.
Creating presssure
Creating pressure can sometimes be difficult. This is because of two things mainly; not able to close the glottis and having little air in the oral cavity.
Upside down position
This is quite common and is usually an easy fix if you have the right instructor. It’s either the glottis is remaining open or the soft pallet shuts when you’re upside for various reasons.
Frequency
How often we create pressure makes a huge difference. Remember with bouyles law, in the first 10 metres of the descent the air spaces reduce by 50% in volume; the greatest change. This means we need to equalise the ears often, before we feel anything happening – even the subtlest of feelings. Equalizing early and not late is vital.
Air shit techniques
As a freediver descends, the air spaces get smaller and one of those spaces is the oral cavity! Remember when we mentioned above that the smaller amount of air you have inside the oral cavity, the harder it is to equalise? As we dive, we must remember to drop the tongue to shift air from the lungs to the oral cavity!
Relaxation
We’ve all heard this before and so many things can come into play here. Make sure to take things easy. Do not rush any part of the process and make sure you are totally relaxed before you dive. Physically and mentally. Tension can lead to all sorts of problems.
Anatomy
Each person is made the same but sometimes slightly different. We have two Eustacian tubes and on of them (in many cases) can be tighter than the other. This means we need to create enough pressure (high enough) for the tube that is delayed. You can find out what pressure you need through the UBA project tool.
Body position
Having an incorrect body position can effect so many things. We need to have the correct position for our muscles to be relaxed as well as to help the air spaces compress. Hint – shoulders, chest belly!
Over pressure
Creating too much pressure (which is very common) can end up in problems with the outer ear and even damaging the eustachian tube, causing an ear barotrauma because of a late equalisation.
The glottis / vocal folds
Now I’ll start talking about the problems when it comes to learning how to frenzel. The glottis is one of the most common problems and usually, you’ll have to start right from the beginning with plenty of exercises to increase your awareness.
Movement
The second biggest problem is the inability to move the vocal folds or tongue in order to compress the air.
Volume of air
This goes without saying. If you do not have enough air inside the oral cavity paired with the correct movement then you aon’t manage to frenzel. Having larger volume of air will help you tremendously.
Awareness
This goes without saying and ties in with the instructor and student. If you have the right instructor you may just be lucky and manage to learn the frenzel in your time during your beginners course. As awareness increases, so will your understanding.
Free online check up!
With our free online check up, Fabrice will be able to analyze your equalisation or guide you as to what you need to do in order to get you going! You can be someone who has no idea how to frenzel or someone who is stuck at a certain depth. Fabrice has gained so much knowledge over the years and spent time with the worlds best coaches as well as taken specialty equalisation courses.
Email Fabrice here OR WhatsApp him!
Dry equalisation skills
Whatever level you’re at, do not expect to learn how to equalise in the water. Dry practice for the Frenzel technique is essential to increase both awareness and motor control of the muscles involved. Practicing them on dry removes the stress of breath-holding under water which will help you learn the fastest way possible.
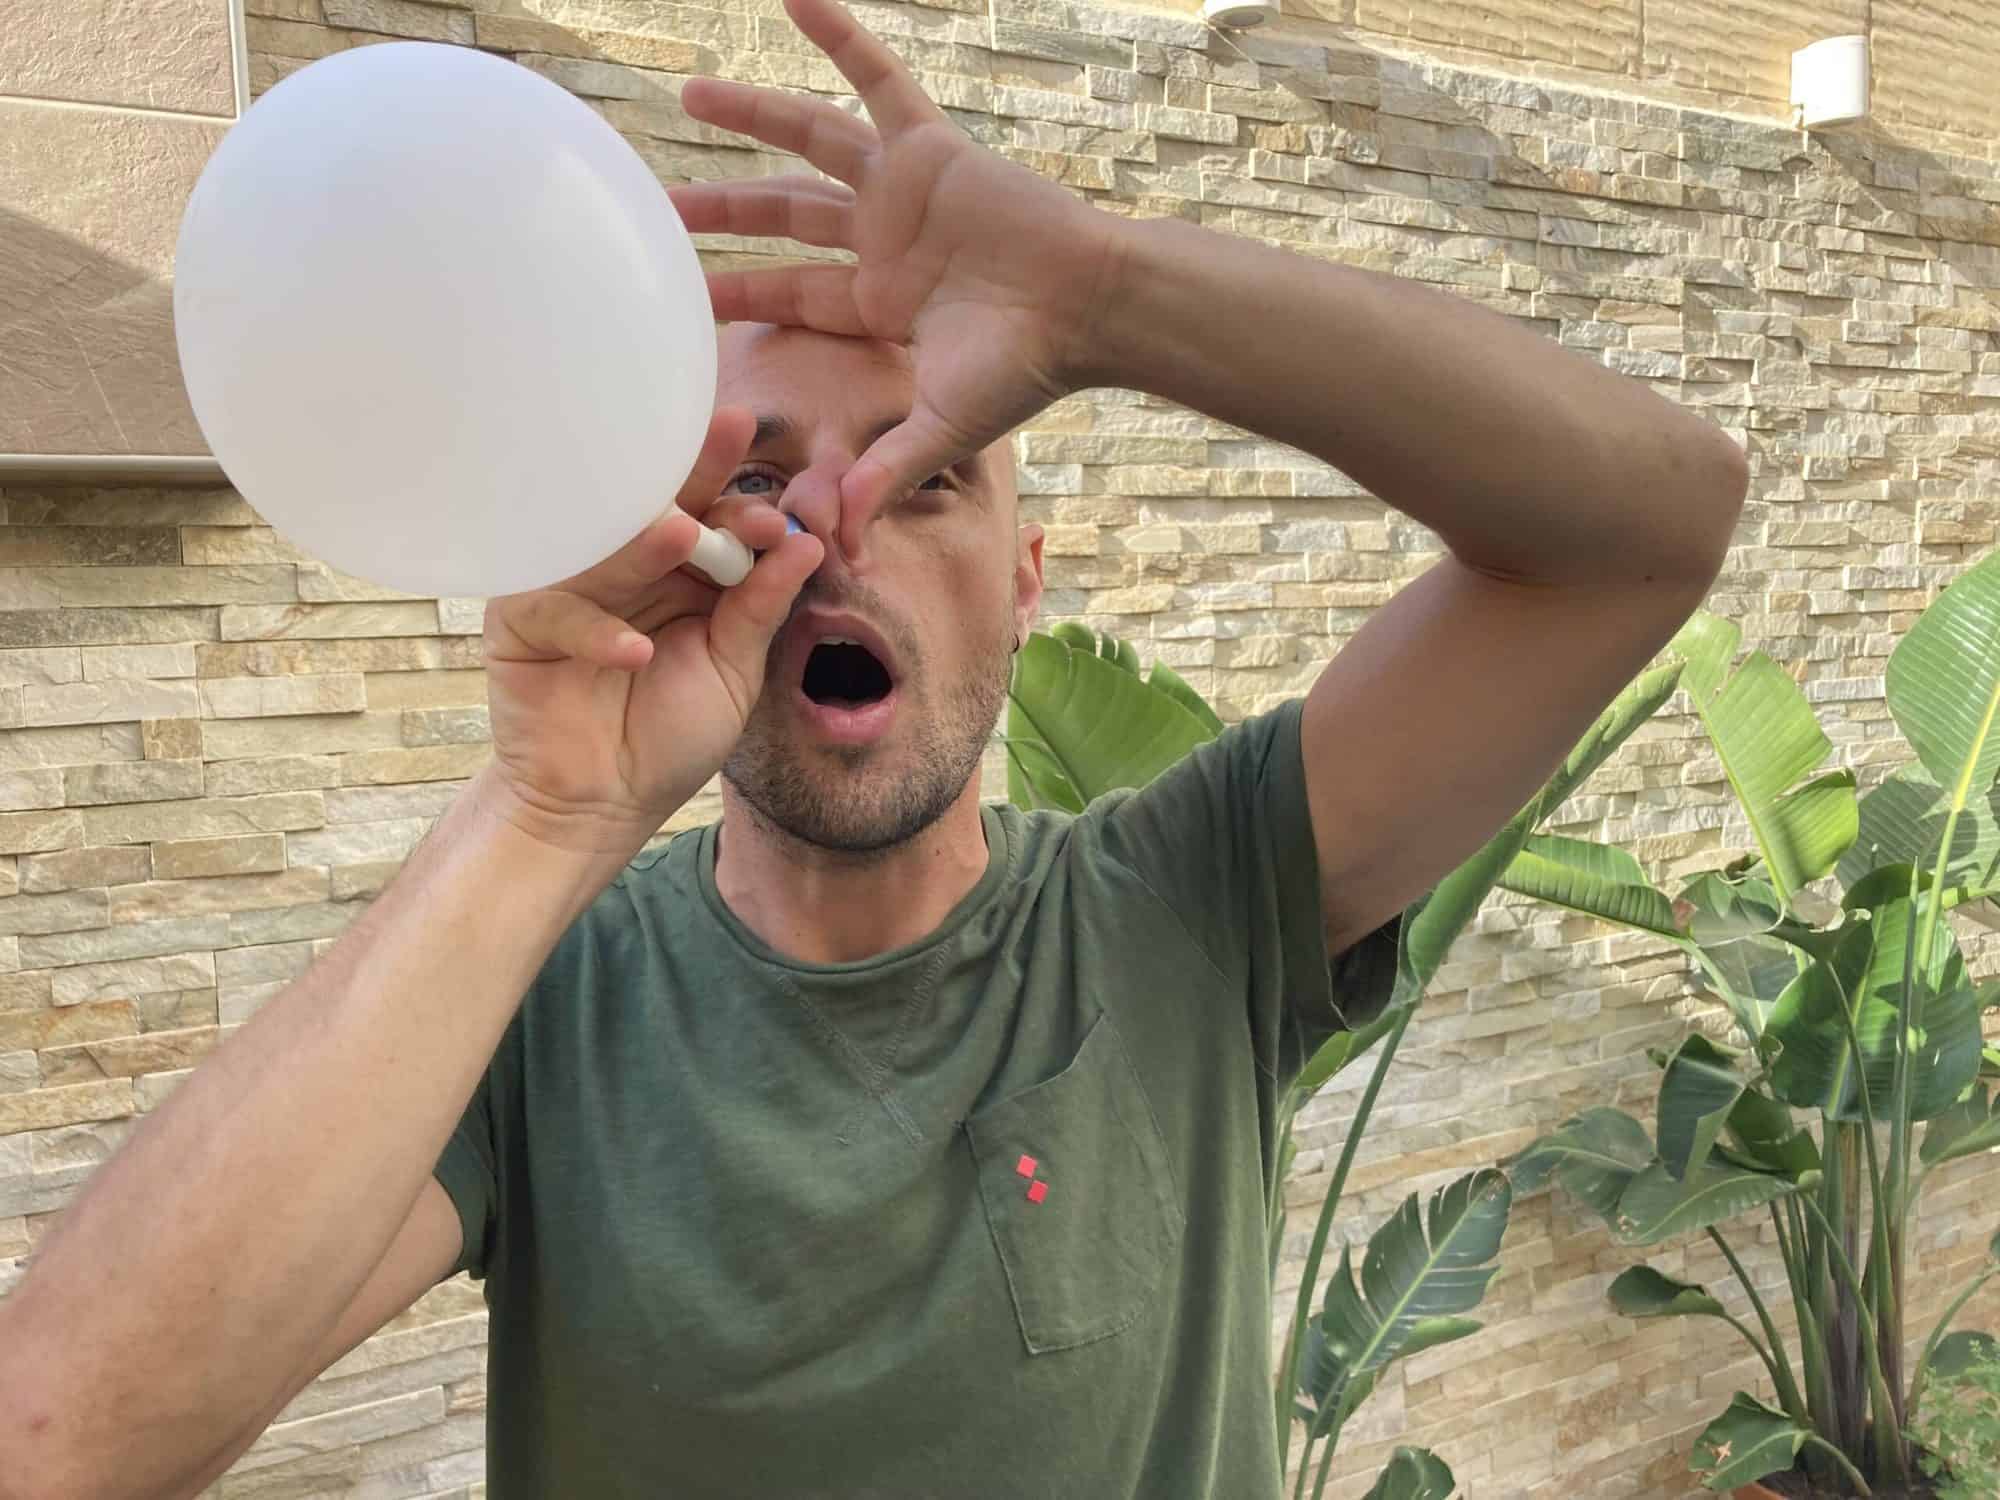
We can learn these skills using different types of EQ tools and each tool has its own purpose. Think of learning equalisation from the lowest type of stress possible, adding difficulty as you go along. This is exactly how you should use these tools.
Freediving equalization course – online.
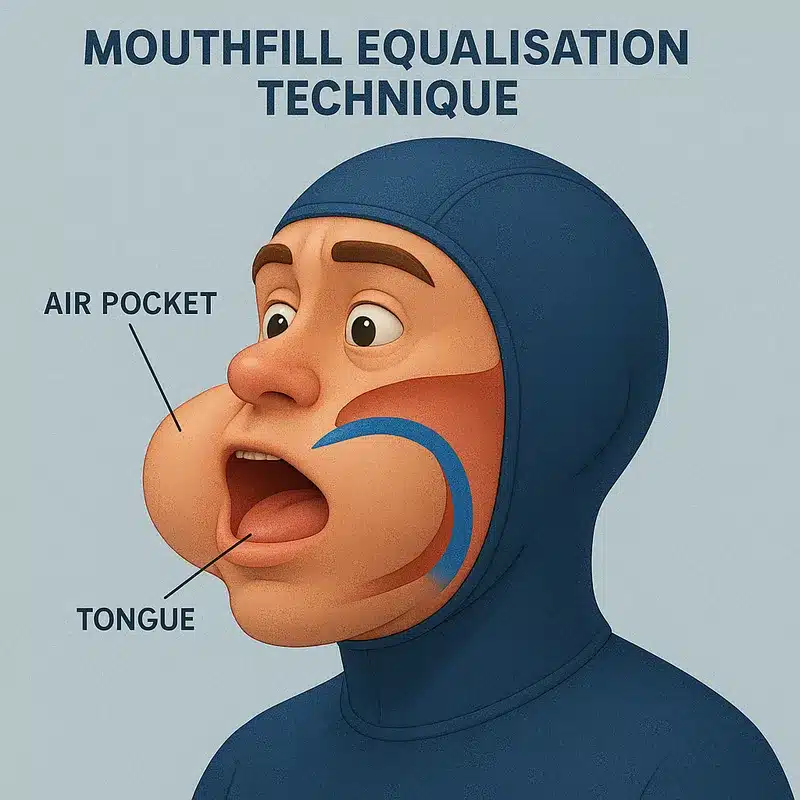
Over here at Deep Med, your instructor Fabrice is an instructor under the Share equalisation method founded by Federico Mana. Federico is the pioneer of this method and has fine tuned it over the span of 10 years, helping thousands of freedivers Frenzel and Mouhtfill. All of this is completely online!
All you would need is an EQ tool, balloon, ring light and a mirror for self practice at home. More on tools here.


